Spring Promo & Closeout Deals | Up to $1000 Off on Selected Items. | Don’t miss this opportunity to offer these attractive deals to your customers.

Available from March 25th through April 30th, 2025.

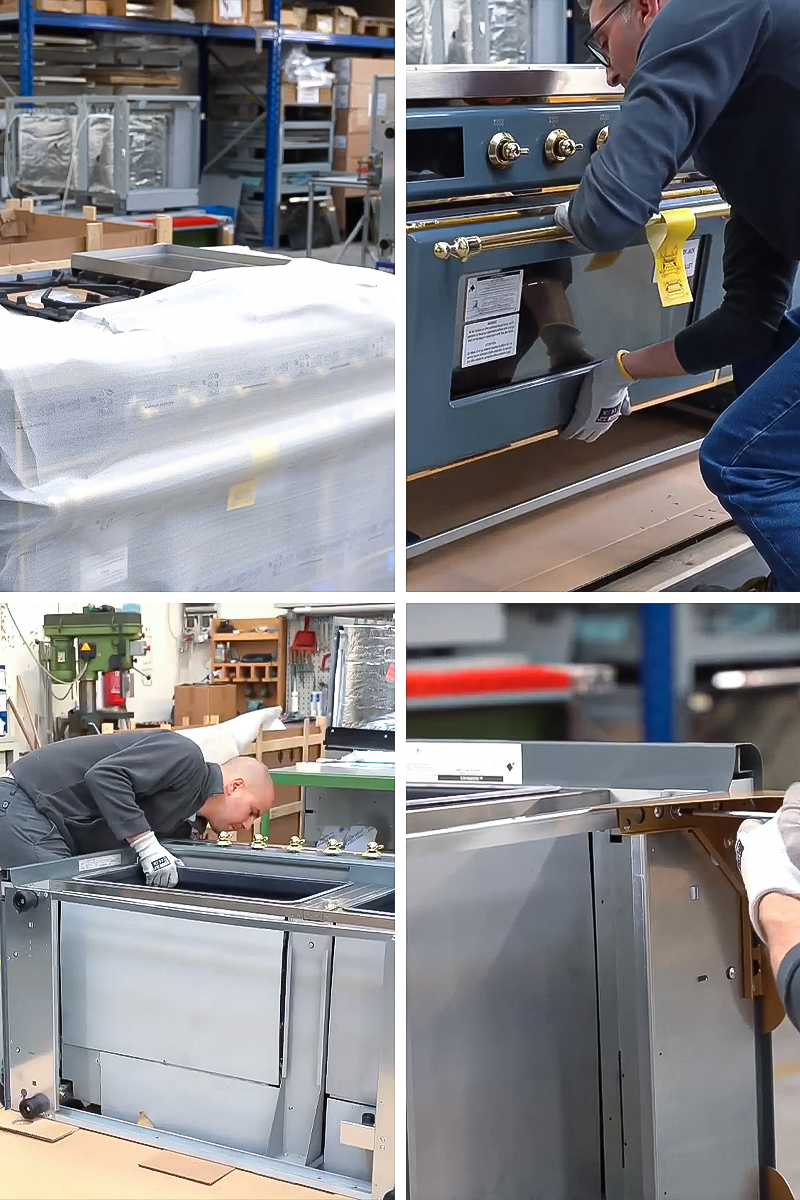
How to Unbox and Install the Legs on Your ILVE Majestic II Range: 14 Easy Steps

How to Unbox and Install the Legs on Your ILVE Majestic II Range: 14 Easy Steps

When you first get your new ILVE Majestic II Range, it can be an exciting moment. The quality, the design, and the performance all promise to elevate your cooking experience. However, before you can start cooking, you need to unbox it and install the legs. Don’t worry – it’s a straightforward process, and with a little care and the right tools, you’ll have your range set up in no time!

This guide will take you through each step of unboxing and installing the legs on your ILVE Majestic II Range. With easy-to-follow instructions and a list of essential tools, you’ll be able to complete the process smoothly and efficiently. Whether you’re a first-time installer or someone who’s done it before, our step-by-step approach will make the job easier, so you can quickly enjoy all the incredible features your range has to offer. By the time you’re finished, you’ll be ready to start cooking and creating amazing meals right away!

Tools You’ll Need:

  • Crowbar, pry bar, or hammer
  • Protective mat
  • Cutting implement (knife, scissors, etc.)
  • Wrench
  • Screwdriver

Step-by-Step Guide:

Step 1: Pry Apart the Protective Wood Planks

Start by using your crowbar, pry bar, or hammer to gently pull apart the wooden planks that are securing the packaging. You’ll want to carefully do this without damaging any parts of the range. Make sure to remove all the wood from its joints before you proceed to the next step.

Step 2: Remove the Outer Box

Next, pull the bottom of the outer cardboard box away from the staples securing it to the inner box. Lift the box off carefully, ensuring that nothing inside gets damaged. You’ll want to keep the box for disposal later.

Step 3: Remove the Protective Covering

Once the outer packaging is out of the way, remove the protective covering from the range. This can often be made of plastic or foam, and its purpose is to protect the range from scratches and damage during shipping. Set this material aside for recycling.

Step 4: Take Out the Grates, Burners, and Accessories

Before you move on, remove the grates, burners, and any other accessories that may be resting on the cooktop. This will make it easier to handle the range and will prevent you from accidentally damaging any of the components during the unboxing process.

Step 5: Remove the Racks, Trays, and Legs

Open the oven and carefully remove any racks, trays, or other items that may be inside. Pay close attention to where the legs are stored, as they will need to be installed later.

Step 6: Remove the Oven Door

To remove the oven door, locate the locks where it attaches to the range. Unlatch these locks, then lift the door to a 75-degree angle and carefully pull it off. Be gentle during this step to avoid damaging the door or hinges.

Step 7: Cut the Corners of the Protective Cardboard

Now, carefully cut the front corners of the protective cardboard to help free up the rest of the packaging. Lay the cardboard down out of the way. This step helps to clear the area and gives you more space to work.

Step 8: Remove the Drawer

Next, extend the drawer fully and unlatch it from the tracks. Carefully remove the front panel of the drawer, then lift the drawer off the track. Make sure to keep all the pieces together for reassembly later.

Step 9: Lift the Range from the Box

Place the protective mat on the ground to avoid scratches. With the help of a partner, gently lift the range out of its packaging. Make sure to hold it securely and lower it onto the protective mat. Once it’s placed down safely, you can set the empty container aside and lay the range on its back.

Step 10: Remove the Floor Guards

Using your wrench, carefully remove the floor guards that are attached to the bottom of the range. These guards help protect the legs from damage during shipping, and they will need to be removed before attaching the legs.

Step 11: Attach the Legs

Now, it’s time to install the legs! Using your screwdriver, attach each of the four legs to the bottom of the range. Each leg requires three screws, so make sure everything is tightly secured. Once the legs are attached, reattach the floor guards to protect them.

Step 12: Place the Burners and Grates

Now that your range is standing on its legs, place the burners and grates back on the cooktop in their designated positions. Ensure they’re properly aligned so that everything is in its place.

Step 13: Reinstall the Drawer

Carefully place the drawer back on the tracks, making sure it’s latched properly. Once the drawer is in place, reattach the front panel. Check that everything is secure and functioning as it should.

Step 14: Reinstall the Oven Door

Finally, reinstall the oven door by aligning the hooks with their slots and latching it securely. Take your time with this step to ensure the door is firmly attached and functions properly.

How to Unbox and Install the Legs on Your ILVE Majestic II Range: 14 Easy Steps

What Are the Excellent Features of ILVE Majestic II Range?

The ILVE Majestic II Range is a luxury appliance designed to deliver exceptional cooking performance with advanced features, making it an ideal addition to any kitchen. Here are some of its standout features:

  1. Professional-Grade Cooking Power: The ILVE Majestic II Range offers powerful gas burners and advanced cooktop features, giving you precise control over your cooking temperature. With multiple burners, including a high-BTU burner, you can cook a variety of dishes simultaneously, from quick sautéing to slow simmering.

  2. Advanced Oven Technology: This range is equipped with an impressive convection oven, ensuring even heat distribution for perfect baking, roasting, and broiling every time. With multiple cooking modes and functions, including fan-assisted convection and pizza modes, it offers versatility for all your culinary needs.

  3. Sleek and Timeless Design: The Majestic II combines traditional Italian craftsmanship with modern aesthetics, offering a sophisticated look with high-end finishes, including premium stainless steel, polished chrome knobs, and a stylish, ergonomic design. Its elegant look can complement both contemporary and classic kitchen styles.

  4. Large Oven Capacity: The ILVE Majestic II comes with a spacious oven that can handle large meals or multiple dishes at once. Whether you’re preparing a holiday dinner or cooking for a crowd, the large oven cavity provides ample space for all your cooking needs.

  5. User-Friendly Controls: The range features intuitive controls with easy-to-read dials and a digital timer, giving you precise control over your cooking and timing. It also includes a programmable oven function for greater convenience.

  6. High-Quality Build and Durability: ILVE is known for its top-tier craftsmanship, and the Majestic II Range is no exception. Made from durable, high-quality materials, it’s built to last and withstand the demands of everyday cooking.

  7. Safety Features: The ILVE Majestic II Range comes with built-in safety features, including flame failure protection on the gas burners, ensuring that the gas supply shuts off automatically if the flame goes out, providing peace of mind while cooking.

  8. Customizable Options: The ILVE Majestic II is available in various sizes and configurations to suit different kitchen spaces and personal preferences. From the number of burners to the color options, you can customize the range to fit your needs perfectly.

These features combine to make the ILVE Majestic II Range a powerful, reliable, and aesthetically pleasing appliance, perfect for those who want to elevate their cooking experience.

Why Is It Important to Know This Installation Guide?

Unboxing and installing the legs of your ILVE Majestic II Range is not just about getting your new appliance out of the box – it’s about ensuring that everything is assembled correctly so that your range works safely and efficiently. By taking the time to follow these steps, you’re preventing potential issues that could arise from improper setup.

Additionally, understanding the process gives you a sense of confidence in handling your appliance and makes sure that the range is securely placed before you start cooking. Whether you’re a seasoned chef or a home cook, knowing how to properly set up your range will ensure that you enjoy your new kitchen addition for years to come.

Happy cooking!

How to Unbox and Install the Legs on Your ILVE Majestic II Range: 14 Easy Steps