How to use the Rotisserie Oven on the ILVE Nostalgie
The ILVE Nostalgie range combines a stylish, vintage-inspired design with cutting-edge technology, making it the perfect addition to any kitchen. One of the standout features of the ILVE Nostalgie is its built-in rotisserie oven, which brings the professional cooking experience straight into your home. Whether you’re looking to prepare succulent chicken, tender pork, or even rotisserie vegetables, this feature will help you create mouthwatering dishes that are sure to impress.
In this guide, we will walk you through how to use the Rotisserie Oven on the ILVE Nostalgie, ensuring you understand each step from setting up the rotisserie spit to ensuring your food is cooked evenly and perfectly. The steps outlined here will help you get the most out of your ILVE Nostalgie’s rotisserie oven, and by the end, you’ll be able to roast a variety of meats and vegetables with ease. Whether you’re a seasoned cook or just starting to explore the magic of rotisserie cooking, you’ll find this guide simple, thorough, and helpful.
Tools and Equipment Needed:
- Rotisserie spit rod and holders (included with your ILVE Nostalgie)
- Meat or poultry (chicken, lamb, pork, etc.)
- Seasoning or marinade of your choice
- Oven mitts
- Meat thermometer (optional but recommended)
- Oven tray

Step-by-Step Replacement Process
Step 1: Placing the Oven Tray on the Lowest Rack to Support the Rotisserie Spit Rod Holders
Before you begin, it’s important to get your ILVE Nostalgie oven ready to accommodate the rotisserie spit rod. This step ensures that the rotisserie mechanism will operate smoothly and evenly, keeping your meat properly positioned as it rotates.
Position the Oven Tray: Open the oven door and slide the oven tray onto the lowest rack position. The tray will help support the rotisserie spit rod holders and catch any drippings from the meat while it’s roasting. This is an essential step to avoid any mess in the oven, as the drippings will fall directly into the tray instead of onto the oven floor.
Adjust the Rack if Necessary: Depending on the size of the meat you’re planning to cook, you may need to adjust the rack’s height. However, placing th
e tray on the lowest rack is ideal for ensuring the meat has plenty of clearance to rotate without touching the sides of the oven. This allows the heat to circulate evenly around the meat, ensuring a perfectly cooked result.
Step 2: Placing the Proper End of the Spit Rod in the Bracket
Now that your oven is prepared, it’s time to set up the rotisserie spit, which will hold your meat while it rotates in the oven. The ILVE Nostalgie features an easy-to-use rotisserie spit system, designed to provide balanced rotation and even cooking.
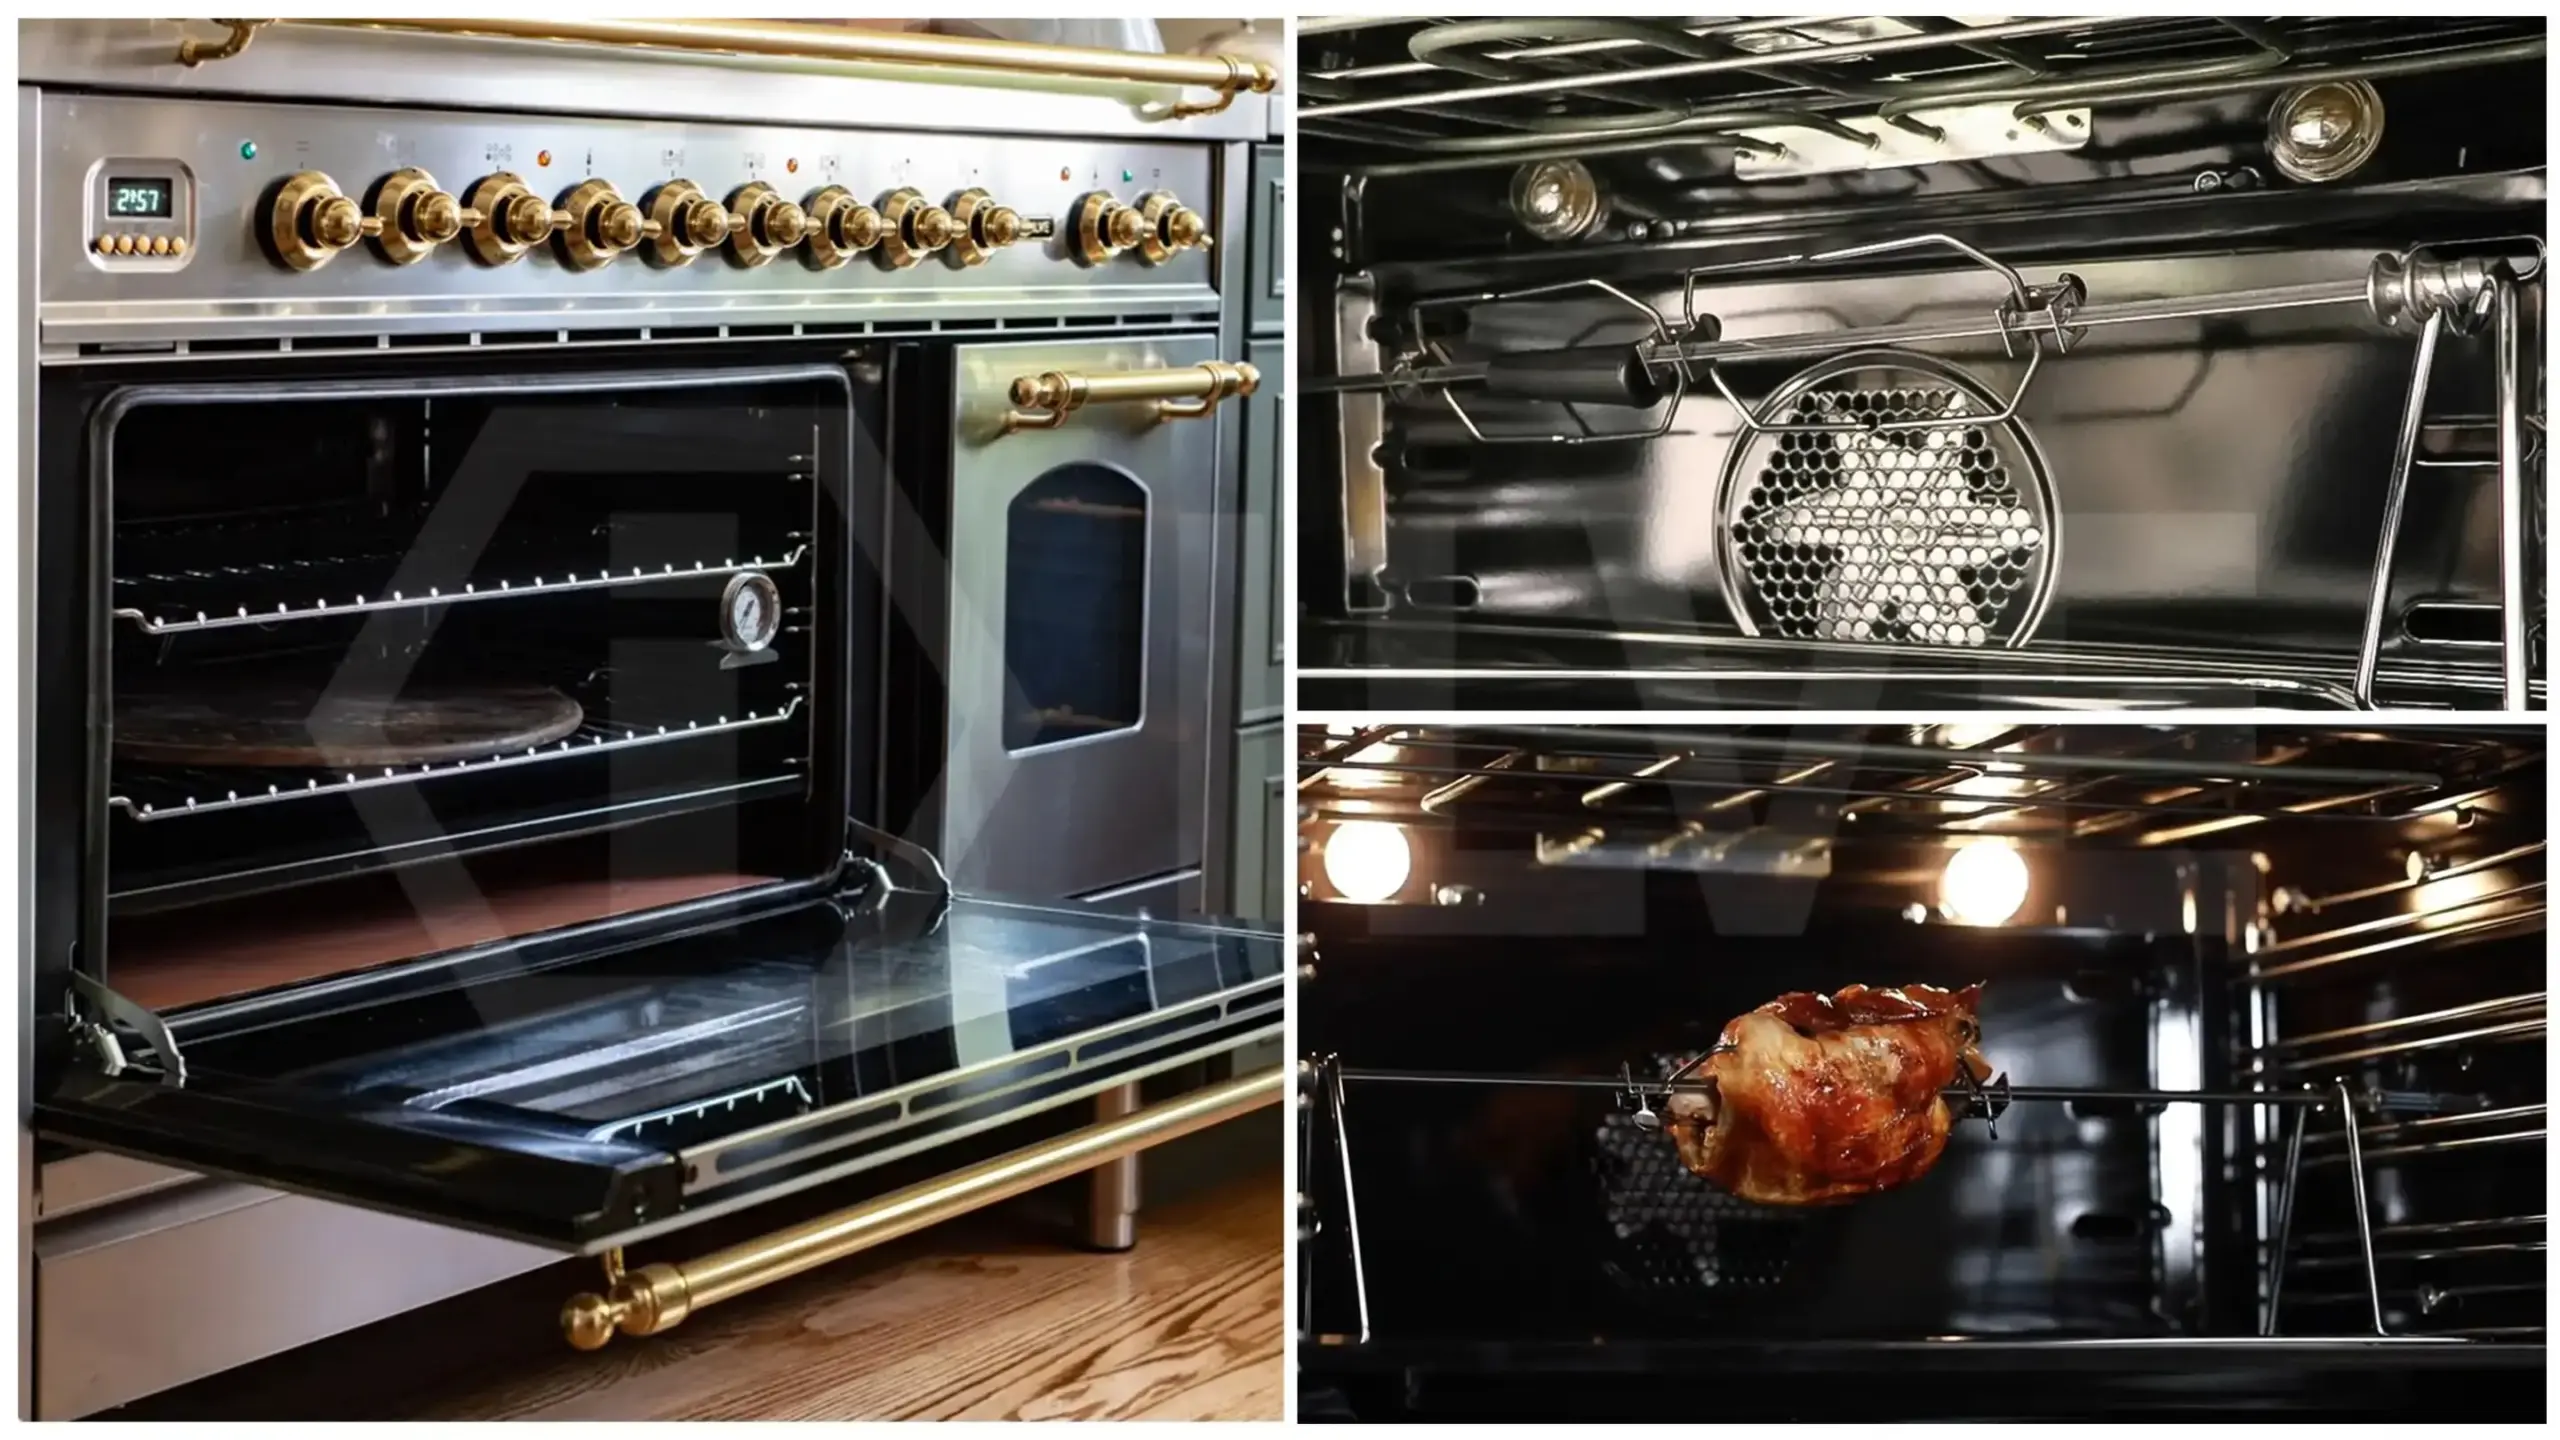
Insert the Spit Rod into the Bracket: The rotisserie spit rod will have a specific end that fits perfectly into the rotisserie bracket. Place the proper end of the spit rod into the bracket at the back of the oven. This end of the spit rod is usually designed to sit securely into the rotisserie motor mechanism.
Ensure a Secure Fit: Make sure that the spit rod is correctly inserted into the bracket. It should fit snugly, with no wiggle room. If the spit rod is not properly seated, the rotation will be uneven, leading to uneven cooking. Once you’ve placed the rod in the bracket, check the alignment to ensure that it is positioned directly in the middle of the oven for optimal rotation.
Load Your Meat onto the Spit Rod: Before fully securing the spit, you need to load your meat onto it. Insert the meat onto the rod, ensuring it’s tightly secured using the included rotisserie forks. These forks will help hold the meat in place as it spins, preventing it from shifting during cooking. Be sure the meat is balanced on the spit rod so it can rotate smoothly and evenly.
Test the Fit: Once your meat is secured, give the spit rod a slight spin to make sure everything is stable and balanced. You want to ensure that the meat does not touch any part of the oven’s interior, and that it can rotate freely without obstruction. If the meat is unbalanced or too large for the spit, adjust it until you’re sure everything is aligned correctly.
Step 3: Ensuring the Rotisserie Mechanism Spins Smoothly
Now that the meat is on the spit and the rod is securely placed in the oven’s rotisserie mechanism, it’s time to check if everything is functioning properly. The rotisserie function is designed to cook the meat evenly by rotating it at a consistent speed. This movement ensures that all sides of the meat are exposed to the heat, providing an even cook and that crisp, delicious exterior everyone loves.
Activate the Rotisserie Motor: Turn on the oven and set it to the rotisserie function. You will notice that the rotisserie motor begins to rotate the spit rod. Watch closely to see if the rod spins smoothly. If the rod does not spin, it could indicate that it hasn’t been properly placed in the bracket, or there could be an issue with the motor. It’s important to address this right away, as uneven spinning could result in an uneven cook.
Test the Rotation: Observe the meat as it begins to rotate. The rotation should be smooth, and the meat should be evenly exposed to the heat on all sides. If you notice any wobbling or jerky movements, it’s important to turn off the oven and recheck the alignment of the spit rod and meat. Adjust the positioning of the spit rod if necessary to ensure a smooth, consistent rotation.
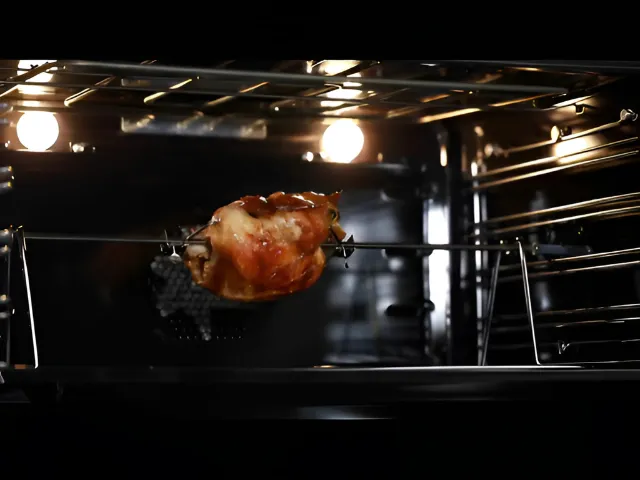
Check for Dripping: As the meat rotates, fat and juices will begin to drip off. This is completely normal and part of the beauty of rotisserie cooking—those drippings will fall onto the oven tray you placed in the lowest rack, which helps prevent them from spilling over and making a mess. Ensure that your tray is correctly positioned and is collecting the drippings.
Step 4: Cooking Your Meat to Perfection
Once you’ve set up the rotisserie and confirmed that everything is working smoothly, it’s time to start cooking. The ILVE Nostalgie’s rotisserie function is designed to deliver consistent heat and even cooking. However, it’s essential to monitor your food throughout the process.
Preheat the Oven: Before placing the meat in the oven, preheat it to the recommended temperature for your specific recipe. Typically, rotisserie cooking is done at a moderate to high temperature, usually around 375°F to 450°F (190°C to 230°C). If you’re cooking poultry, the oven should be set to about 400°F (200°C).
Start Cooking: Once your meat is securely in the oven and the rotisserie is spinning, you can close the oven door and let the magic happen. It’s important not to open the door too frequently, as this will release heat and could affect the cooking time.
Monitor the Cooking Time: Cooking times can vary depending on the size and type of meat. For example, a whole chicken will generally take around 1 hour and 15 minutes to cook fully, while a larger roast can take up to 2 hours. Check your recipe for specific guidelines or use a meat thermometer to verify that your meat has reached the proper internal temperature. Poultry should reach an internal temperature of 165°F (74°C), while larger cuts of meat should be cooked to 145°F (63°C).
Baste If Needed: Some cooks prefer to baste the meat during cooking, especially with a flavorful marinade or the drippings that collect in the tray. Basting can help keep the meat moist and enhance its flavor, but it’s not necessary for every recipe. If you choose to baste, do so every 20-30 minutes to ensure the best result.
Step 5: Removing the Meat from the Oven
Once your meat is cooked to perfection, it’s time to remove it from the oven. It’s important to do this carefully, as both the meat and the rotisserie spit will be very hot.
Turn Off the Oven: Before removing the meat, turn off the oven to prevent any accidental burns.
Use Oven Mitts: The spit rod and meat will be extremely hot, so always wear oven mitts when handling the spit. Gently lift the spit from the bracket and place it on a heat-resistant surface.
Rest the Meat: Allow the meat to rest for about 10 to 15 minutes after removing it from the oven. This resting time helps the juices redistribute throughout the meat, ensuring that it stays tender and juicy when you carve it.
Step 6: Carving and Serving the Meat
Now that the meat has rested, it’s time to carve and serve.
Remove the Meat from the Spit Rod: Carefully remove the meat from the spit rod. You can do this by gently loosening the forks that hold the meat in place. Make sure to use tongs or a carving fork, as the spit and meat will still be hot.
Carve and Serve: Begin carving the meat into portions. If you’re serving poultry, be sure to carve the breasts, legs, and wings separately. For larger cuts of meat like pork or lamb, slice against the grain to ensure tender slices. Serve your perfectly roasted, juicy meat with your favorite sides.“

Why Is It Important to Know How to Use the Rotisserie Oven on the ILVE Nostalgie?
Knowing how to use the Rotisserie Oven on the ILVE Nostalgie is essential for anyone who enjoys cooking flavorful, tender, and evenly cooked meats. By mastering this technique, you can prepare restaurant-quality rotisserie dishes right in your home kitchen. The key benefits of rotisserie cooking include even heat distribution, crispy exteriors, and juicy interiors that will elevate your cooking experience.
Rotisserie ovens are not only convenient, but they also help lock in flavors while ensuring that your meats stay moist throughout the cooking process. By following the simple steps outlined in this guide, you can confidently use the rotisserie feature on your ILVE Nostalgie and create delicious meals that will impress friends and family. So, whether you’re cooking for a special occasion or a regular family dinner, learning to use this feature to its fullest will make your meals truly memorable.
Final Recommendations
- Refer to the full ILVE installation manual for clearance requirements and connection guidelines.
- Always hire a licensed professional for gas and electrical installations.
- Register your ILVE Range online to activate your warranty and receive product support.
Need further assistance? Visit us.ilve.com or contact our support team.

