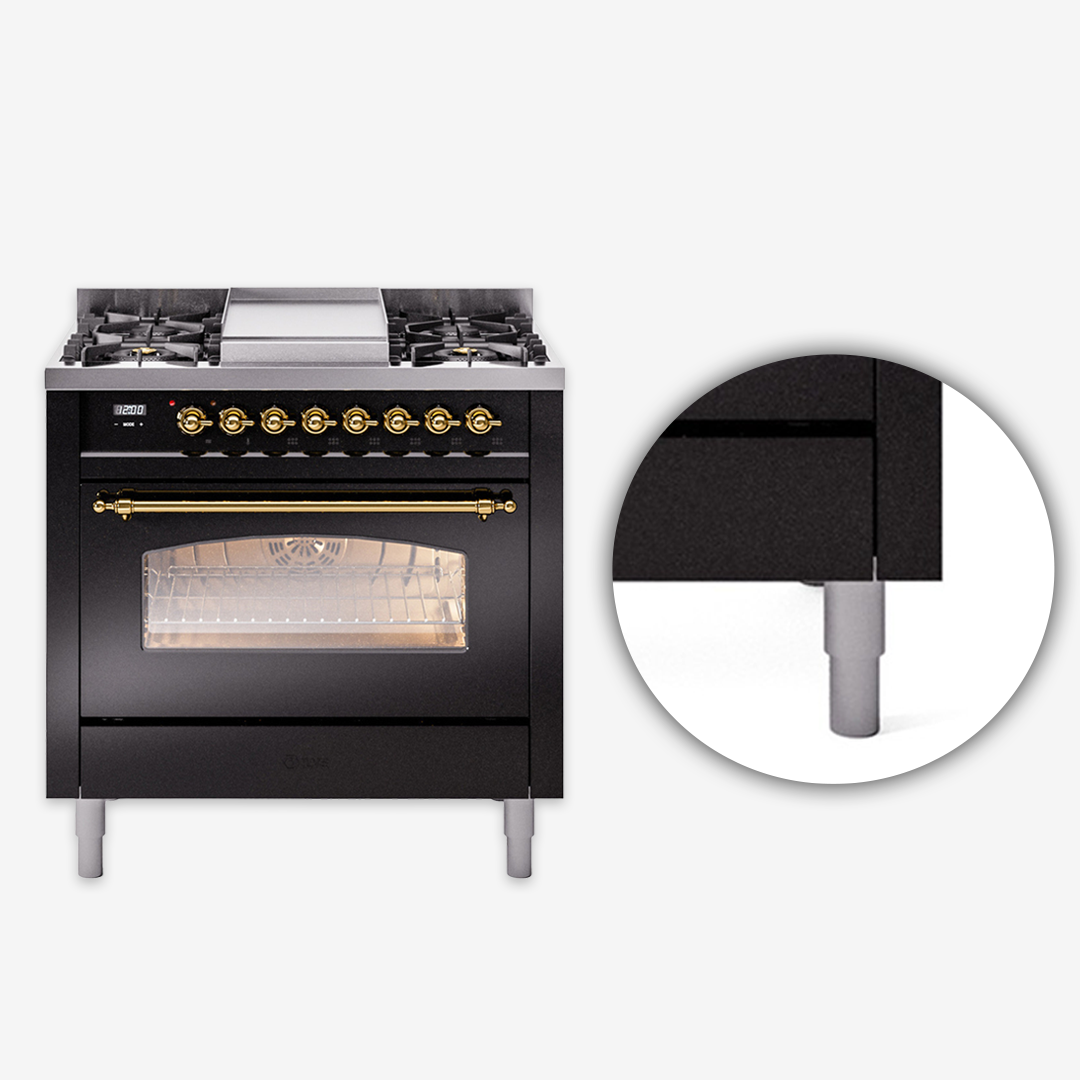
Cylinder legs provide stable support and proper height adjustment for your ILVE Nostalgie range, helping ensure a secure, level installation. In addition to improving balance on uneven floors, they also enhance airflow and make cleaning beneath the range easier.
The following steps outline how to correctly install and adjust the cylinder legs on an ILVE Nostalgie range to ensure proper positioning, stability, and readiness for use.
Tools Required
- Adjustable wrench or spanner
- Protective gloves
- Leveling tool
- Soft surface (such as a protective mat or towel)
Step-by-Step Replacement Process
-
Prepare the installation area.
Clear the area and place a protective mat on the floor to prevent scratches. Due to the weight of the range, assistance from a second person is recommended. -
Position the range.
For easier access, carefully lay the range on its back on a padded surface. If installing upright, proceed with extra caution to prevent tipping or damage. -
Locate the mounting points.
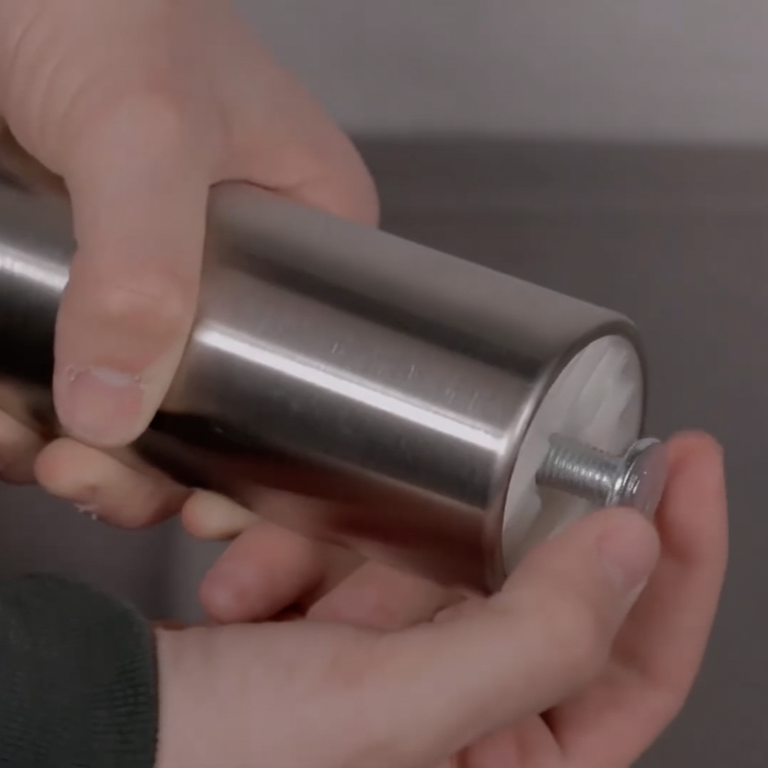
Identify the four pre-threaded leg mounting points at the base of the range. Ensure they are clean and free of debris for proper installation. -
Install the cylinder legs.
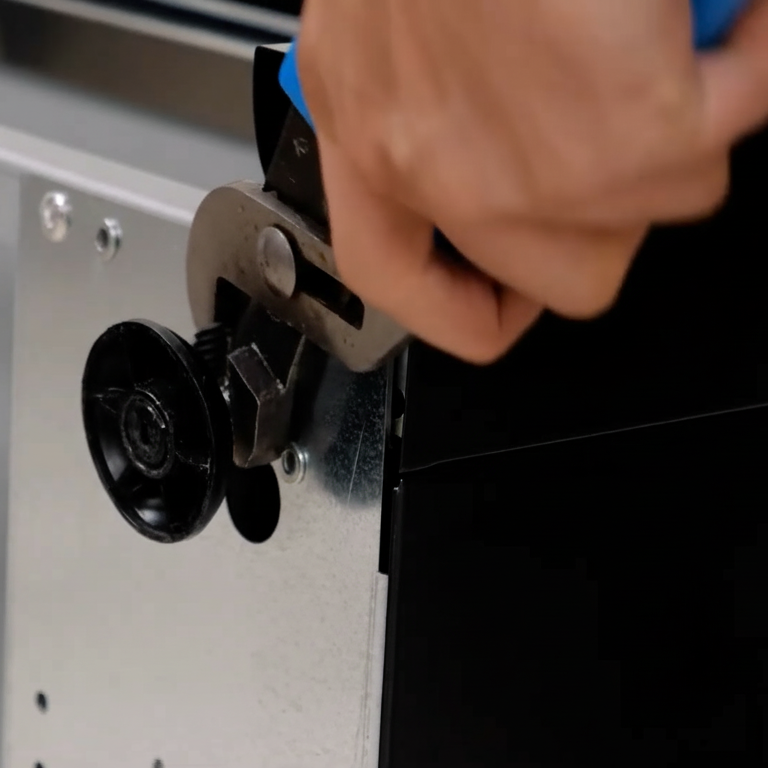
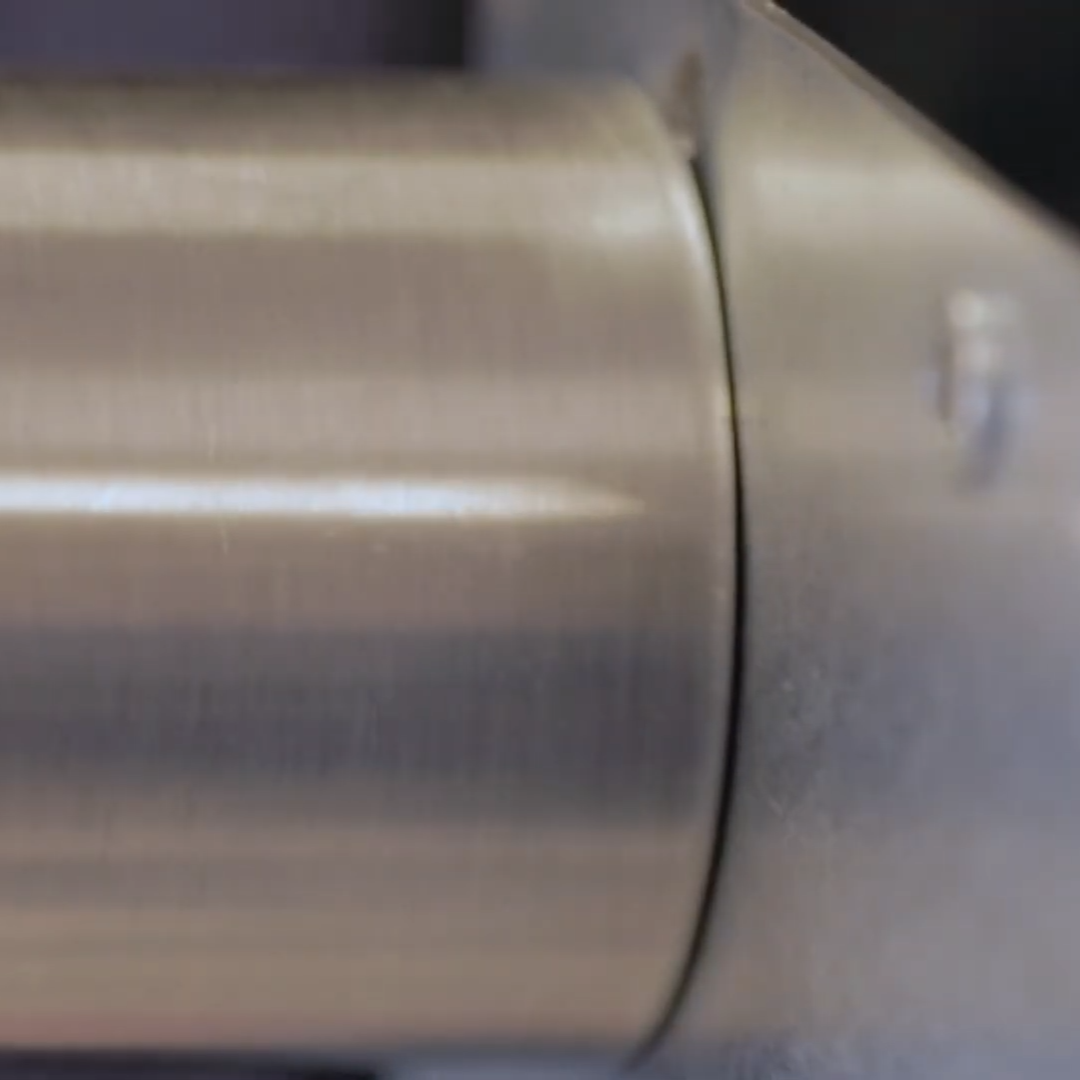
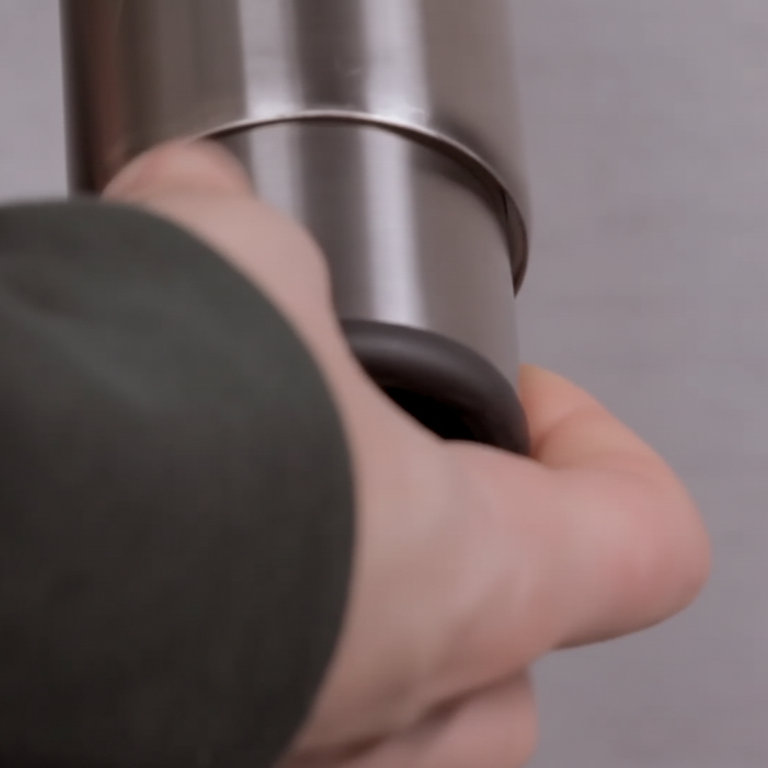
Align each cylinder leg with its mounting hole and screw it in clockwise by hand. Once aligned, tighten securely with an adjustable wrench, avoiding overtightening. Repeat for all four legs. -
Level the range.
Use a level to check positioning. Adjust each leg by rotating clockwise to lower or counterclockwise to raise until the range is perfectly level. -
Upright and position the range.
Return the range to an upright position if needed. Recheck leveling, then carefully move it into place while maintaining proper clearances and ventilation. -
Secure the range (if required).
Install anti-tip brackets or additional safety hardware if required.
Final Recommendations
- Refer to the full ILVE installation manual for clearance requirements and connection guidelines.
- Always hire a licensed professional for gas and electrical installations.
- Register your ILVE Range online to activate your warranty and receive product support.
Need further assistance? Visit us.ilve.com or contact our support team.
